Telecom expense management used to be a big boys club. Bought like a enterprise software with long procurement cycle, annual commitments, dedicated account manager and a customer success representative who actually did the work!. Now with Spenza SaaS, you can start using telecom expense management software like any other modern SaaS. Just signup, upload invoices and check out the cost saving recommendations on the platform. This comprehensive guide walks you through the process of setting up your Spenza account.
What is Self-Serve Telecom Expense Management (TEM)?
Self-Serve Telecom Expense Management (TEM) is a cloud-based approach that enables businesses to manage telecom expenses without lengthy implementation projects or dedicated onboarding teams. Organizations can sign up, upload telecom invoices, analyze spending, receive cost optimization recommendations, and monitor telecom assets through a centralized dashboard.
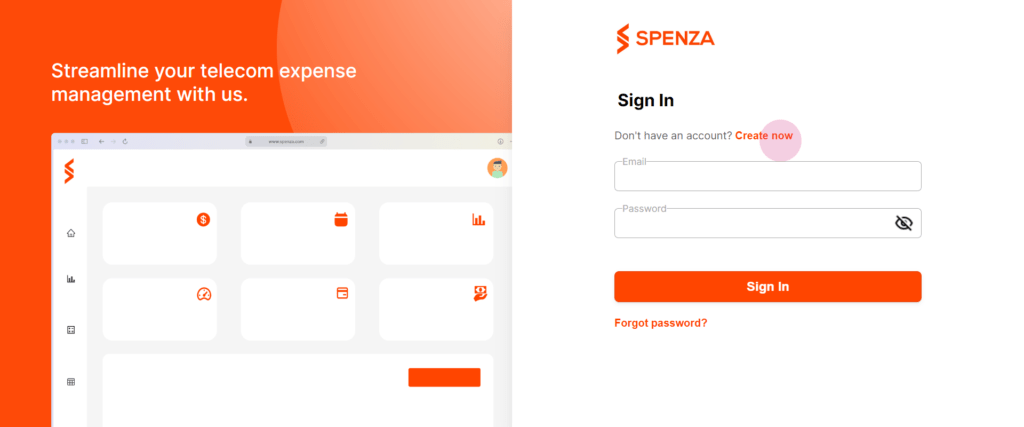
Begin by visiting web.preprod.spenza.com and selecting “Create Now.” This will take you to the initial setup page where you’ll start by providing your company’s basic information.
| Step | Action |
|---|---|
| 1 | Create a Spenza account |
| 2 | Add company details and payment method |
| 3 | Choose a subscription plan |
| 4 | Upload telecom invoices |
| 5 | Start tracking telecom spend and optimization recommendations |
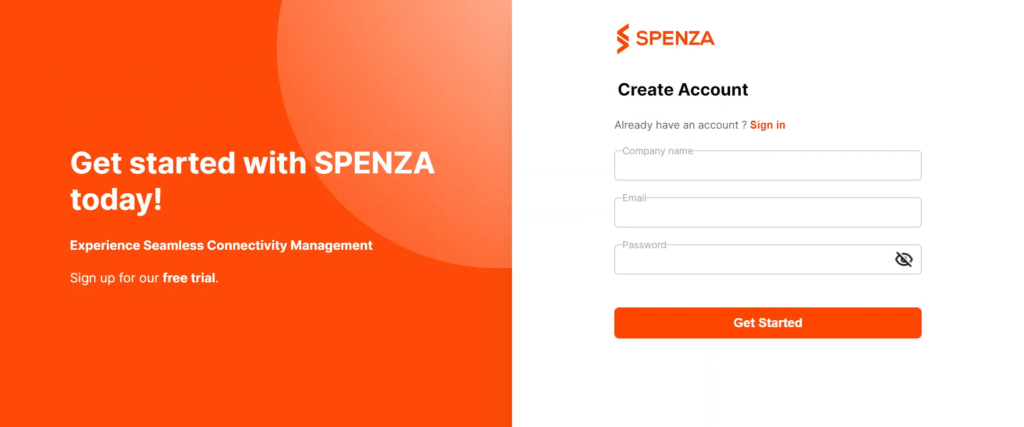
Step 1: Sign up by entering the company details and setting up a strong password.
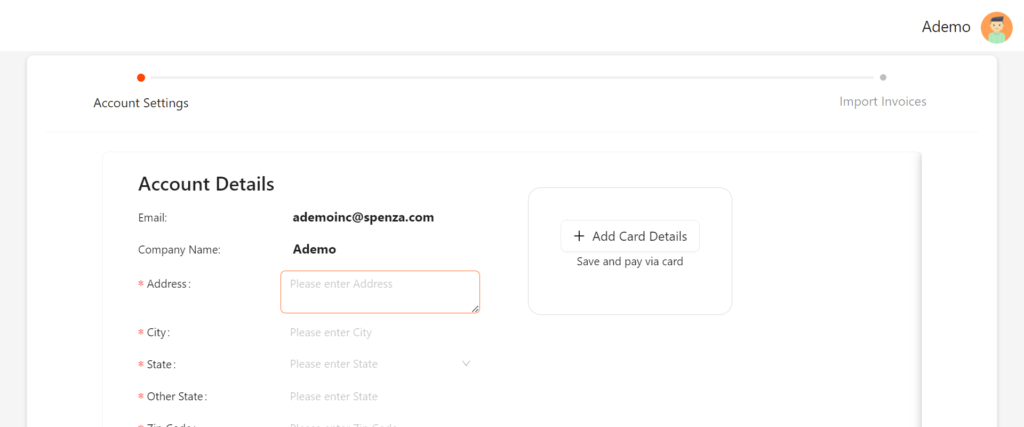
Step 2: On the onboarding page, fill in your company details and add a payment method. Select “Add Card Details” to input your payment information. This step secures your payment method for any services you might use on the Spenza platform.
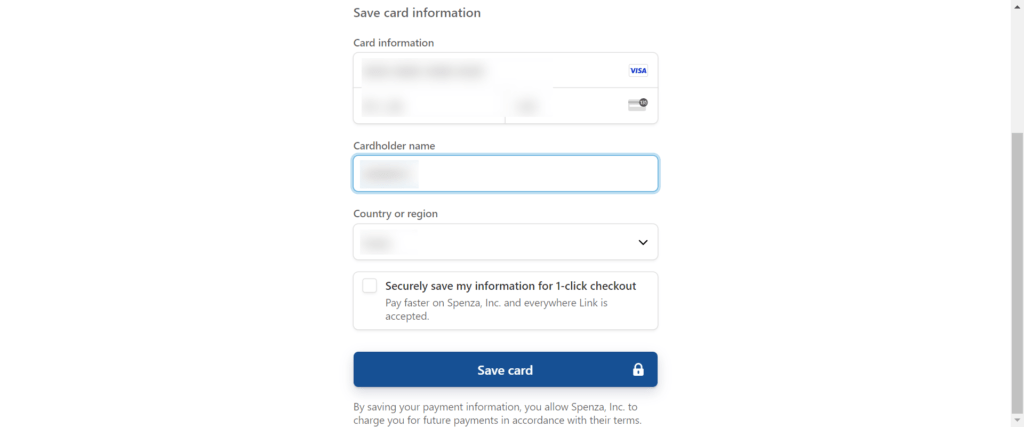
Step 3: Select add card details to enter your card information and save your card.
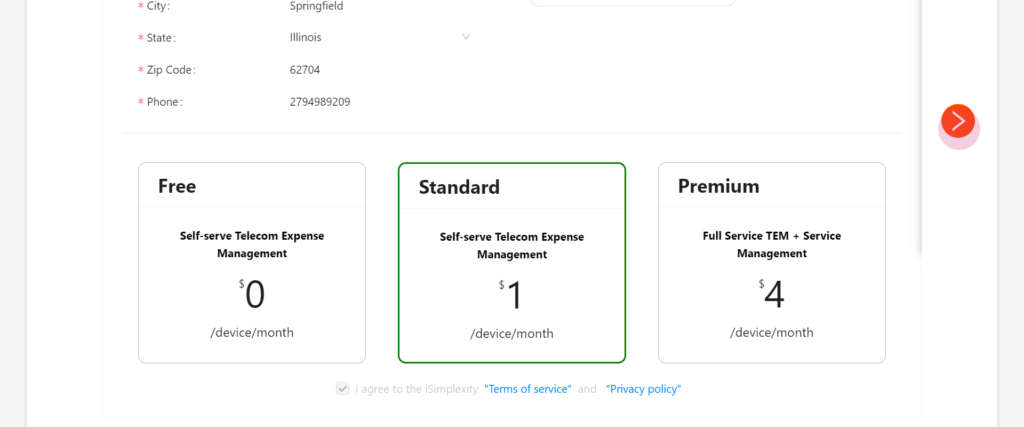
Step 4: Choose your subscription type. Spenza offers three subscription levels: free, standard, and premium. Review the features of each plan to select the one that best fits your business needs. Agree to the terms of service and privacy policy, then click “Next” to proceed.
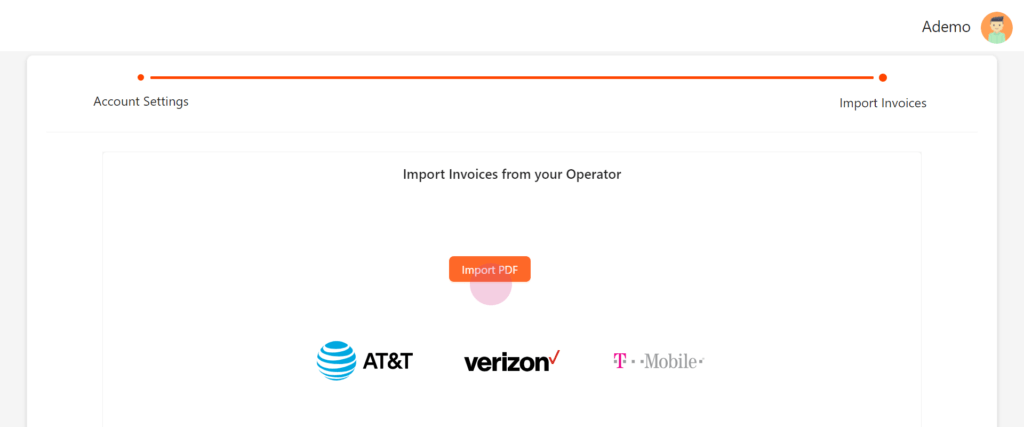
Step 5: Jumpstart your account by uploading telecom invoices in PDF format. The system will automatically parse these details, save them to the appropriate inventories, and update your dashboard. If you prefer, skip this step and upload invoice data from the file stores later. Select next to finish the process.
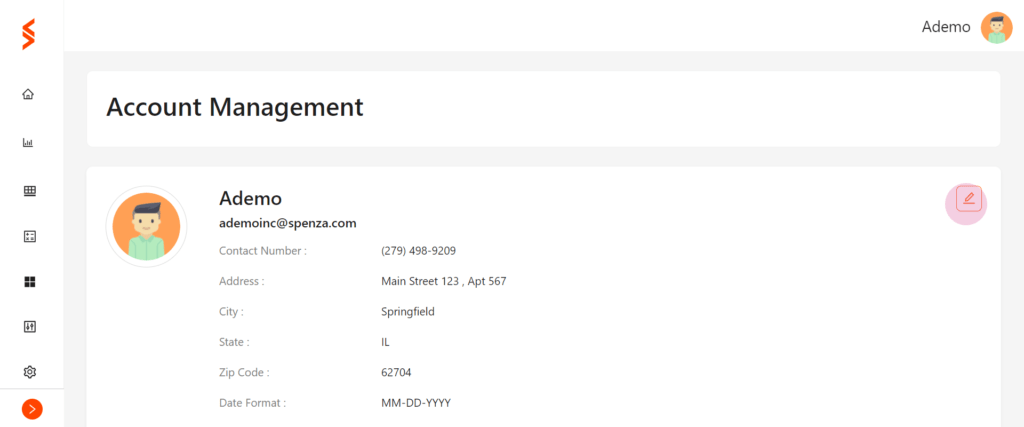
Account Management
Access via Settings → Account Management.
Step 1: Top Up Your Account
- Top up with any amount in any currency.
- Ensure a balance for transactions.
Step 2: Set Up Customer Notifications
- Configure notifications for customers (plan updates, usage, subscription changes).
- Connect Spenza account with Stripe and Shopify for seamless transactions.
Step 3: Upgrade and Monitor Subscriptions
- Upgrade to a higher subscription tier if needed.
- Monitor past subscriptions to understand spending patterns and usage.
By following these steps, you can efficiently set up and manage your Spenza account, ensuring optimized mobile services for your business.